You can do this by editing the symbol (or creating a custom one) in the Symbol Property Editor to set the pivot point, then using the Rotation setting under Advanced Symbology to set the rotation angle. I'm using ArcMap 10.3.1 but I'm pretty sure these options are in 10.2.x as well.
1. Choose a symbol and set the pivot point.
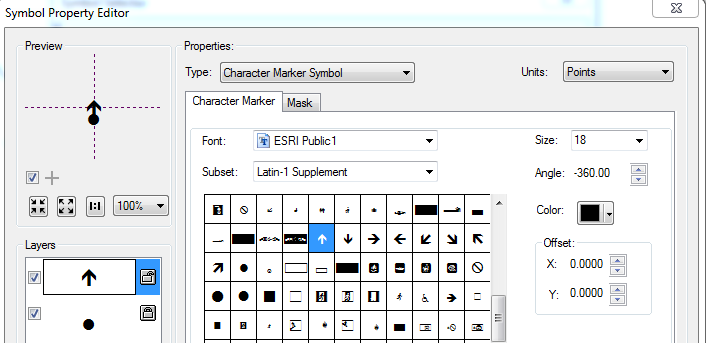
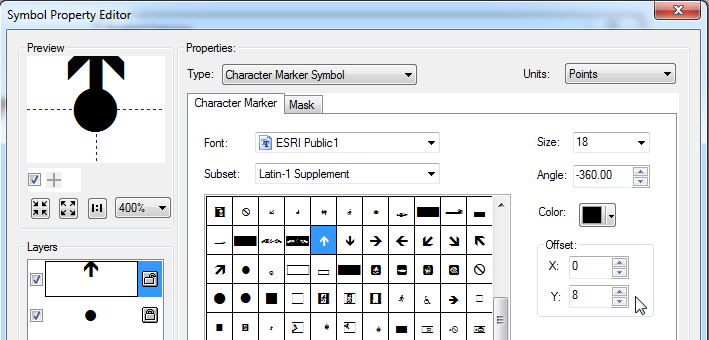
Click the point symbol in your Table of Contents, choose the arrow symbol you'd like to use, then click Edit Symbol to bring up the Symbol Property Editor. If you look at the Preview frame (upper-left), those crosshairs point to the spot that ArcMap will use as the pivot point. You can use the X and Y offset controls (lower-right) to move your symbol so that your desired pivot point sits on the crosshair.
Here's an example, this is a simple custom symbol I use to indicate direction. By default, the center of the symbol is on the shaft of the arrow, which isn't where I want it:

When I rotate that symbol in ArcMap, it's rotated around that point under the crosshair. The red dot here is the pivot point:

You can use the offset controls to move the rotation axis wherever you like. Note here that my symbol has two layers, so I need to set the right offset in both layers. Use the zoom level in the Preview frame to make sure you're as close as possible to the crosshair. Depending on the symbol, it may take some fiddling to get it right, and it still may not look perfect at all rotation angles.

Now my symbols rotate about their axis the way I want:

2. Choose the rotation angle for your symbols
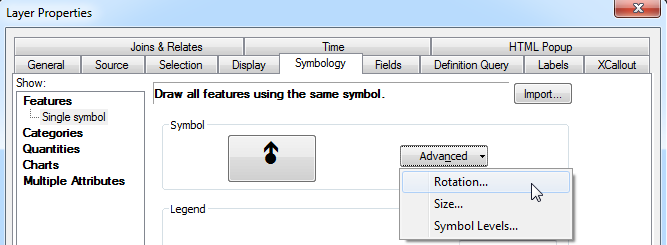
This is much simpler. Under the Layer Properties, Symbology tab, click the Advanced button, Rotation item:

Choose a numeric field in your layer that you'd like to use as the rotation angle for your symbols. If your layer doesn't already have one, you'll need to add it.
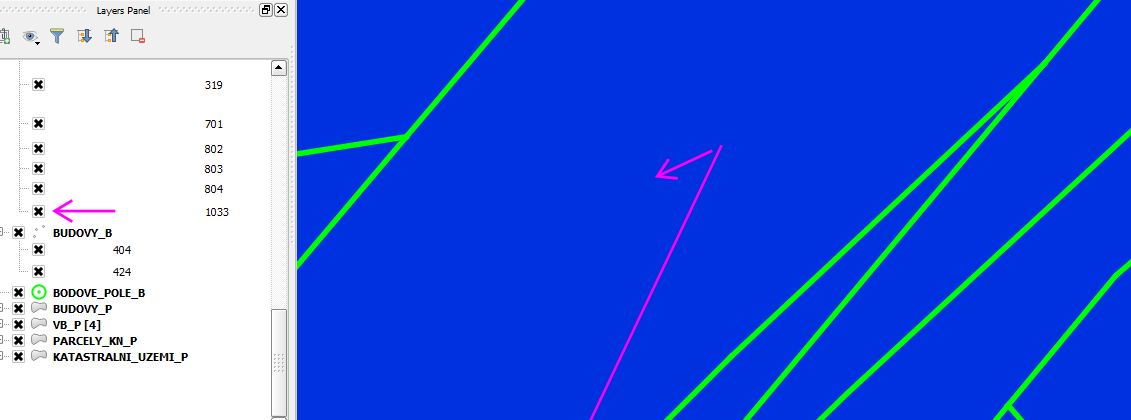
 This is how I did it in QGIS. That arrow is the EMF file and I've set the anchor point to center and right so if there is a rotation, the arrow will be rotating around the right part and that's what I need to do in ArcMap. And I also need to do that to many different symbols and texts.


