4

TLDR:

How can I reclassify a contiguous group of pixels of a single class into a new class while leaving non-contiguous pixels of that same class unchanged? I have been working in ArcGIS Pro (3.1), but can use QGIS or R if needed.

Details:

Goal: I have a raster with three classes (water, vegetation and soil). There is a creek which I would like to separate from the other water into a new class. To do this, I want to select all the water pixels that are contiguous within the creek channel and reclassify them into a new creek class while leaving all other water pixels as water.

Tried: In ArcGIS Pro 3.1 I have tried using Pixel Editor but the Reclassify options of Pixel, Object or Region all require manual selection of pixels with various drawing type tools to reclassify them. The Region section of the Pixel Editor toolbar allows you to select Segment to Region as an option but I can't get this entire area to reclassify pixels from one class to another. It highlights sections of the creek but I can't get it to change all the pixels within the highlighted area.

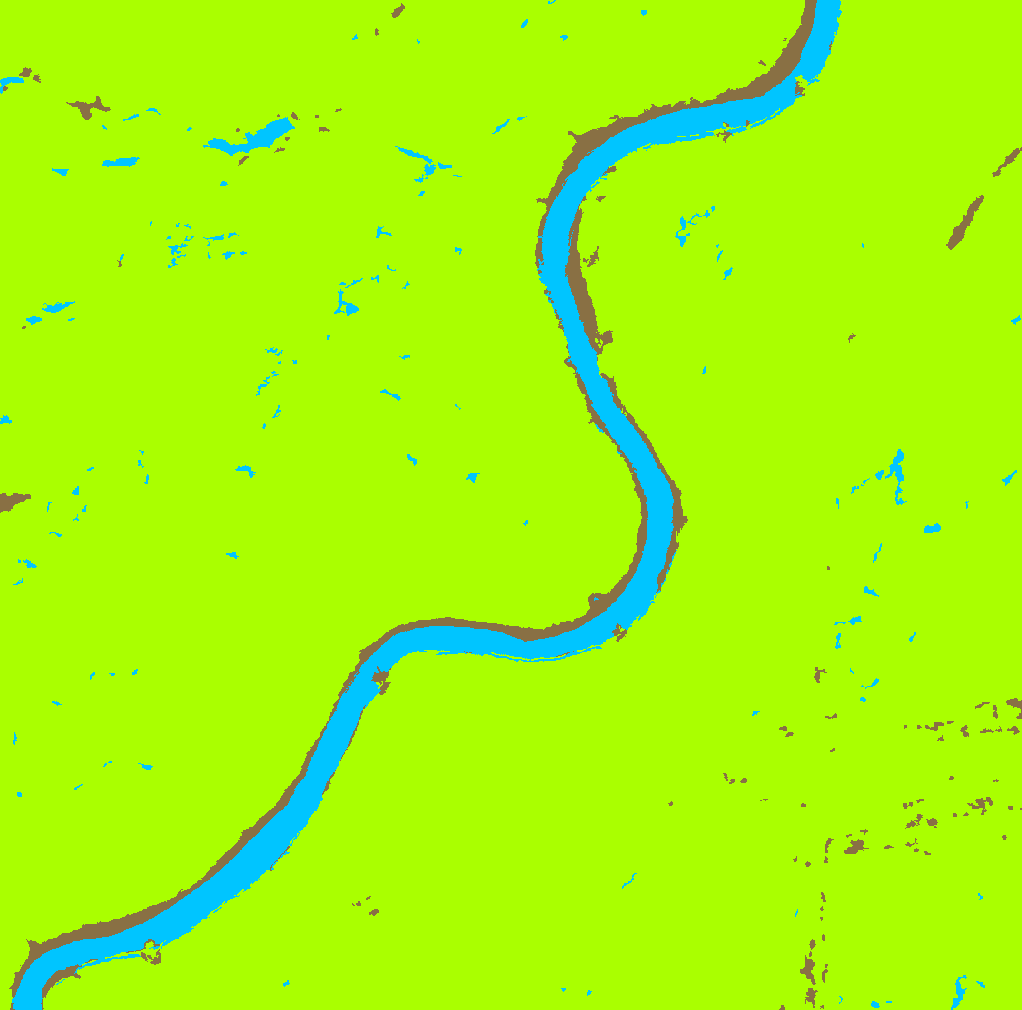
Below is a sample section of my raster showing a contiguous section of creek, which I would like to reclassify to a new class, and other non-contiguous areas of water, which I would like to leave as water: Part of classified raster

2
  • 2
    Run region group tool
    – FelixIP
    Commented Jul 13, 2023 at 19:40
  • You might be able to use r.clump then some raster calculations to split the clumps by raster value
    – Bera
    Commented Aug 2, 2023 at 18:16

2 Answers 2

4

Assuming a raster called "Classes" with 1=water, 2=vegetation and 3=soil:

enter image description here

  • Group the "Classes" pixels into contiguous groups using the Region Group tool:

    enter image description here

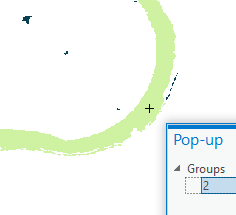
  • Figure out which Group is the creek (in my test data it was the value "2"):

    enter image description here

  • Set the creek to a new class "4" and set everything else to its original class in the Raster Calculator:

    Con( "Groups" == 2, 4, "Classes")

    enter image description here

2
  • This is a very similar but slightly more elegant solution than the one I used so I'll accept this over my own.
    – ia200
    Commented Jul 14, 2023 at 0:05
  • @ia200 I've updated answer as water mask not required.
    – user2856
    Commented Jul 14, 2023 at 0:30
0

Following the suggestion of FelixIP, here is the workflow that I used:

Run the Region Group tool on my three class raster. This creates a raster with unique values for each contiguous group of pixels in the target raster.

Then I extracted the values for the regions I wanted using the Image Information tool under the Imagery tab (note the Region Group output raster needs to be selected in the Contents pane when you click the tool). In my case there were small breaks in places along the creek so there were nine unique values for the regions I wanted to reclassify as creek.

I then used the Raster Calculator tool to create a new raster with the desired four classes using the following function:

Con((("RegionG_Cros1" == 263) | ("RegionG_Cros1" == 3033) | ("RegionG_Cros1" == 4109) | ("RegionG_Cros1" == 2772) | ("RegionG_Cros1" == 2762) | ("RegionG_Cros1" == 2618) | ("RegionG_Cros1" == 2604) | ("RegionG_Cros1" == 2563) | ("RegionG_Cros1" == 860)), 3, 0) + "CrossCreek2023_SVM.tif"

Here is a breakdown of what this function does:

In summary, this function creates a raster with values of 3 for areas of creek and values of 0 for all other areas, then it adds this binary raster to the original three class raster to create the desired four class raster.

Here are some additional details:

"RegionG_Cros1" is the layer name for Region Group tool output raster. The various numbers in, e.g. "RegionG_Cros1" == 263, are the nine values extracted with the Region Group tool for areas representing the creek.

"CrossCreek2023_SVM.tif" is the layer name for the original three class raster.

The conditional function 'Con()' creates a new raster with with a value for when the conditions are true and when the conditions are false. In this case I assigned true (i.e. regions of creek pixels) to be 3 and false to be 0. I used these values because in my original classification water is 0, vegetation is 1, and soil is 2. This allowed me to simply add the binary condition raster to the original three class raster (using the + "CrossCreek2023_SVM.tif" at the end of the function) which resulted in an output raster with four classes (values = 0, 1, 2 or 3, with 3 being the new creek class; shown in purple below). Because the non-creek areas have a value of zero in the conditional raster, those values remain unchanged in the output, and because the water class has a value of 0, adding 3 to 0 creates a new creek class with a value of 3, which is sequential with the original class values of 0, 1, 2. This is not strictly necessary, but it does produce a cleaner looking output in my opinion.

enter image description here

Your Answer

By clicking “Post Your Answer”, you agree to our terms of service and acknowledge you have read our privacy policy.

Not the answer you're looking for? Browse other questions tagged or ask your own question.