2

I've got a single polygon feature class with hierarchy overlapping polygons (one-to-many - "tree"). The hierarchy is varying between 1-4 levels but can edited to be even more leveled in the future. The polygon feature class contains about 120 polygons with different NAME field values (though not completely unique).

I'm looking to distinct between the different polygons in two ways:

  1. Buffer each polygon according to its hierarchy - the more basic it is (more a root in a tree) the more buffered.

  2. Make a color ramp for the 'stroke layer' in the representation rule for each value in the NAME field.

I've achieved the buffering: I made a double field and gave each feature a different value according to its hierarchy level; making an override to a buffer effect with that field.

My question is this:

How to generate different colors for the 'stroke layer' for that specific rule, according to the NAME field?

I've tried to follow this post (http://mappingcenter.esri.com/index.cfm?fa=ask.answers&q=2206) but the solution they suggested is to make a BLOB field and then manually change the colors for each feature with the representation toolbar, which can be quite a hassle.

2
  • can you elaborate on what is exactly the stroke layer? How does its attriubutes table look like?
    – dof1985
    Commented Apr 8, 2015 at 10:54
  • The polygon feature class refer to areas within a settlement. The 'stroke layer' is the only representation layer active in the representation rule that I'm trying to apply. The representation rule refers to the area's boundary.
    – EranGeo
    Commented Apr 8, 2015 at 11:19

1 Answer 1

1

Here is a python solution (in field calculator). I give an example with a polygon layer. Each one holds a name value in its name Field, e.g.: "A" and "B".

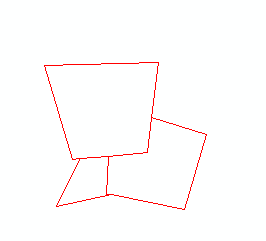
After creating representaion for this layer, I have got this image:

Start

Namely, I have created a 1-rule representation, using red stroke line with width 1. Than I would like to change "all" the strokes for polygon with Name==B to a different representation. Here are the phases:

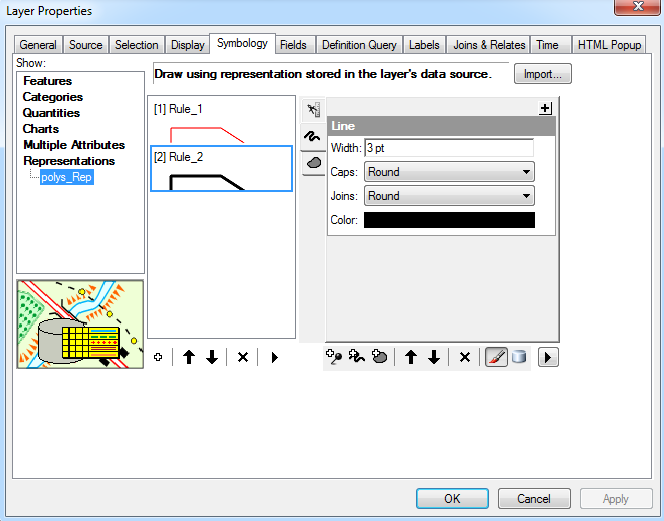
  1. For each Unique Name, add a rule under the layer properties>symbology. That is if you have 20 unique names, you should have 20 rules (if you wish to give different representation to each name). See image below:

add rules

Note that the first rule created is coded as 1 (integer type), than each new rule will get the next number, e.g. 2, 3, 4.... Write them down - make a table for yourself which match each Name to a ruleID code.

Next use this code, or adjust it respectively to the table you've created, to update the ruleID field.

Code Block:

def UpdateRules(x):
if(x=="A"):
    out=1
if(x=="B"):
    out=2
return(int(out))

Expression:

UpdateRules(!Name!)

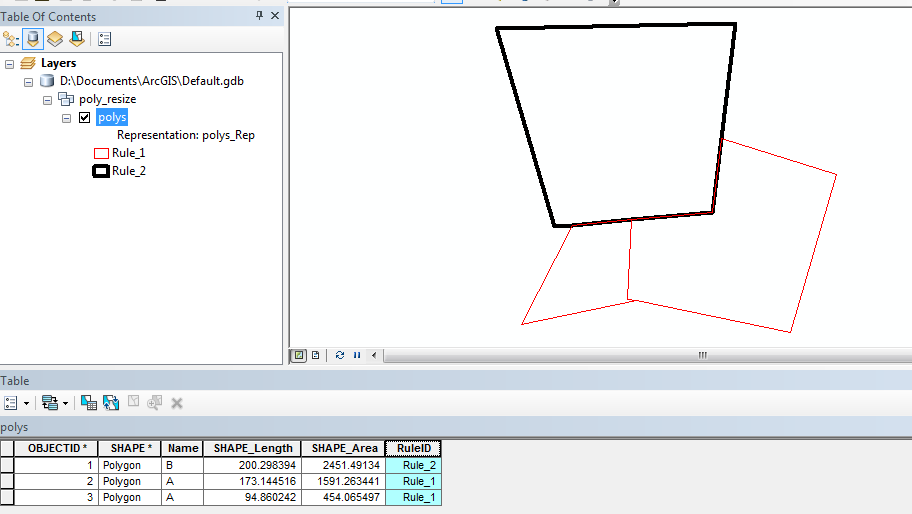
This is how the attributes and symbols looks like afterwards.

Result

Your Answer

By clicking “Post Your Answer”, you agree to our terms of service and acknowledge you have read our privacy policy.

Not the answer you're looking for? Browse other questions tagged or ask your own question.