4

I'm starting using QGIS to make a project for university and I am with a problem on configuring legends on Print Composer.

The thing is I want the text of my legend to appear after the symbols/coloured rectangles and not above. My legend doesn't fit in the space because I have 2 lines for each layer when I could have just one. Is there any way I can solve this?
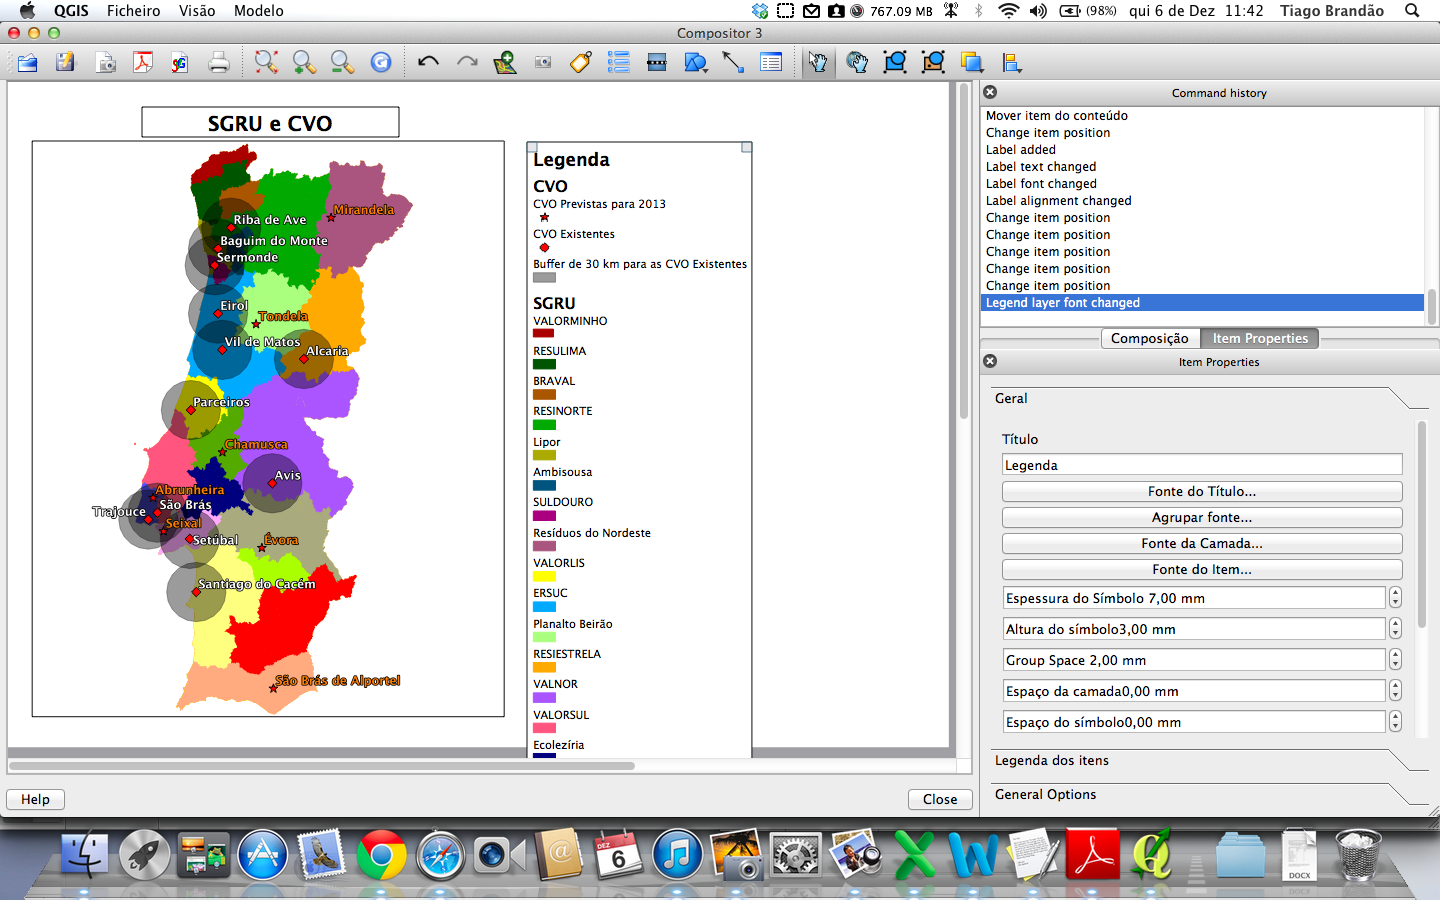
enter image description here

3
  • Why do you have one layer for each province? If you would merge them into one layer, your problem would go away.
    – underdark
    Commented Dec 6, 2012 at 11:55
  • thanks for your suggestion underdark but how can I merge all this layers into a single one and still be able to color them? Commented Dec 6, 2012 at 12:13
  • 1
    You can use the ID (or any other data field) as a key for the categorised symbology style or the rule-based style if you need to manually specify the colors for each province. Not sure if QGIS can already read the desired style from a data column, which could make the second case easier. Commented Dec 6, 2012 at 12:44

1 Answer 1

4

Ordinarily I would go with Underdark's suggestion.

However, this issue is common for other situations where it is not relevant or possible to have all the data in one layer, so the question is worth a quick 'how to'. Navigate to the Legend Items tab and...

  • select a layer
  • click the pencil edit button and delete everything in the layer's item text popup so you have no layer heading at all.
  • click the + icon to expand your layer and select the element you want to label (below the level of the layer)
  • click the pencil icon again and type in your label.

QGIS will make your label follow your patch and it automatically 'packs' the patchs when you don't have any layer heading.

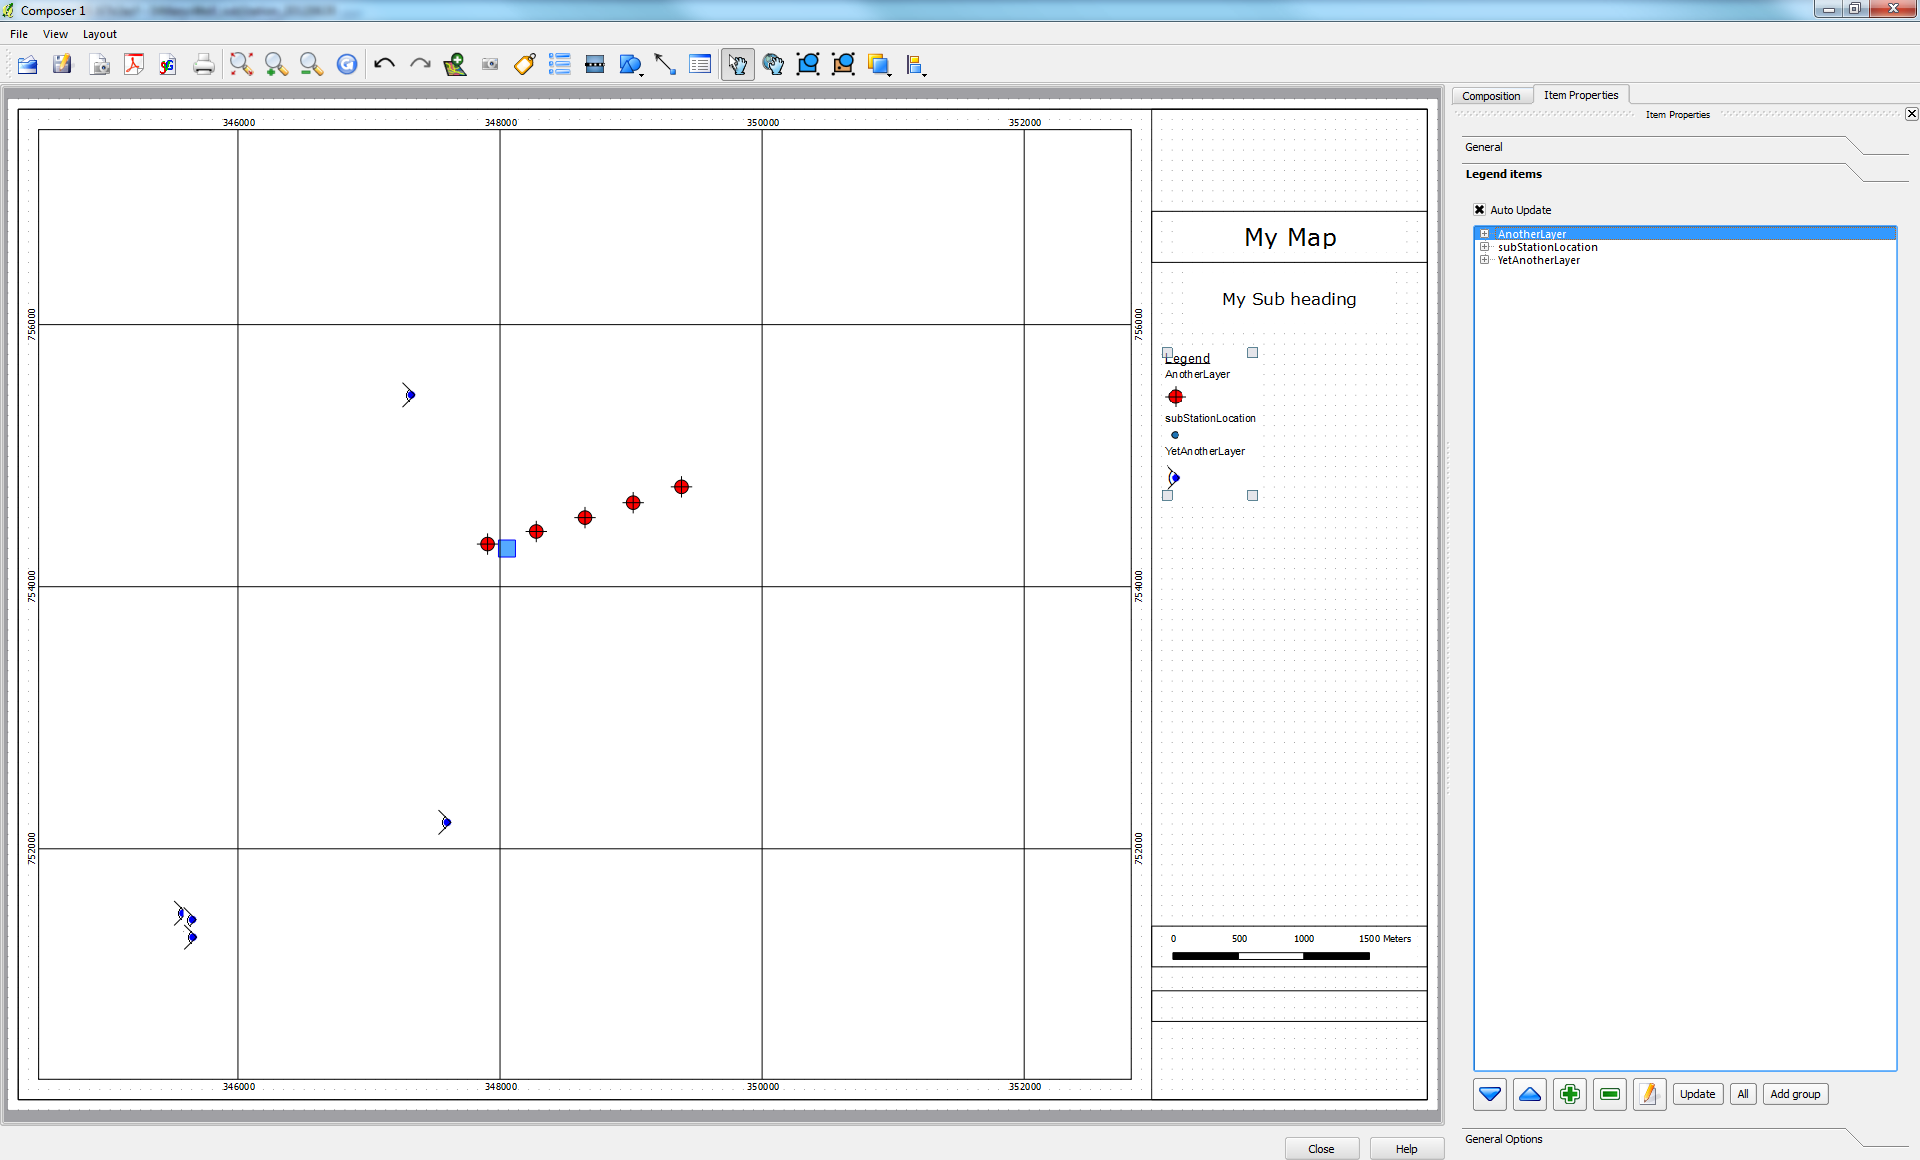
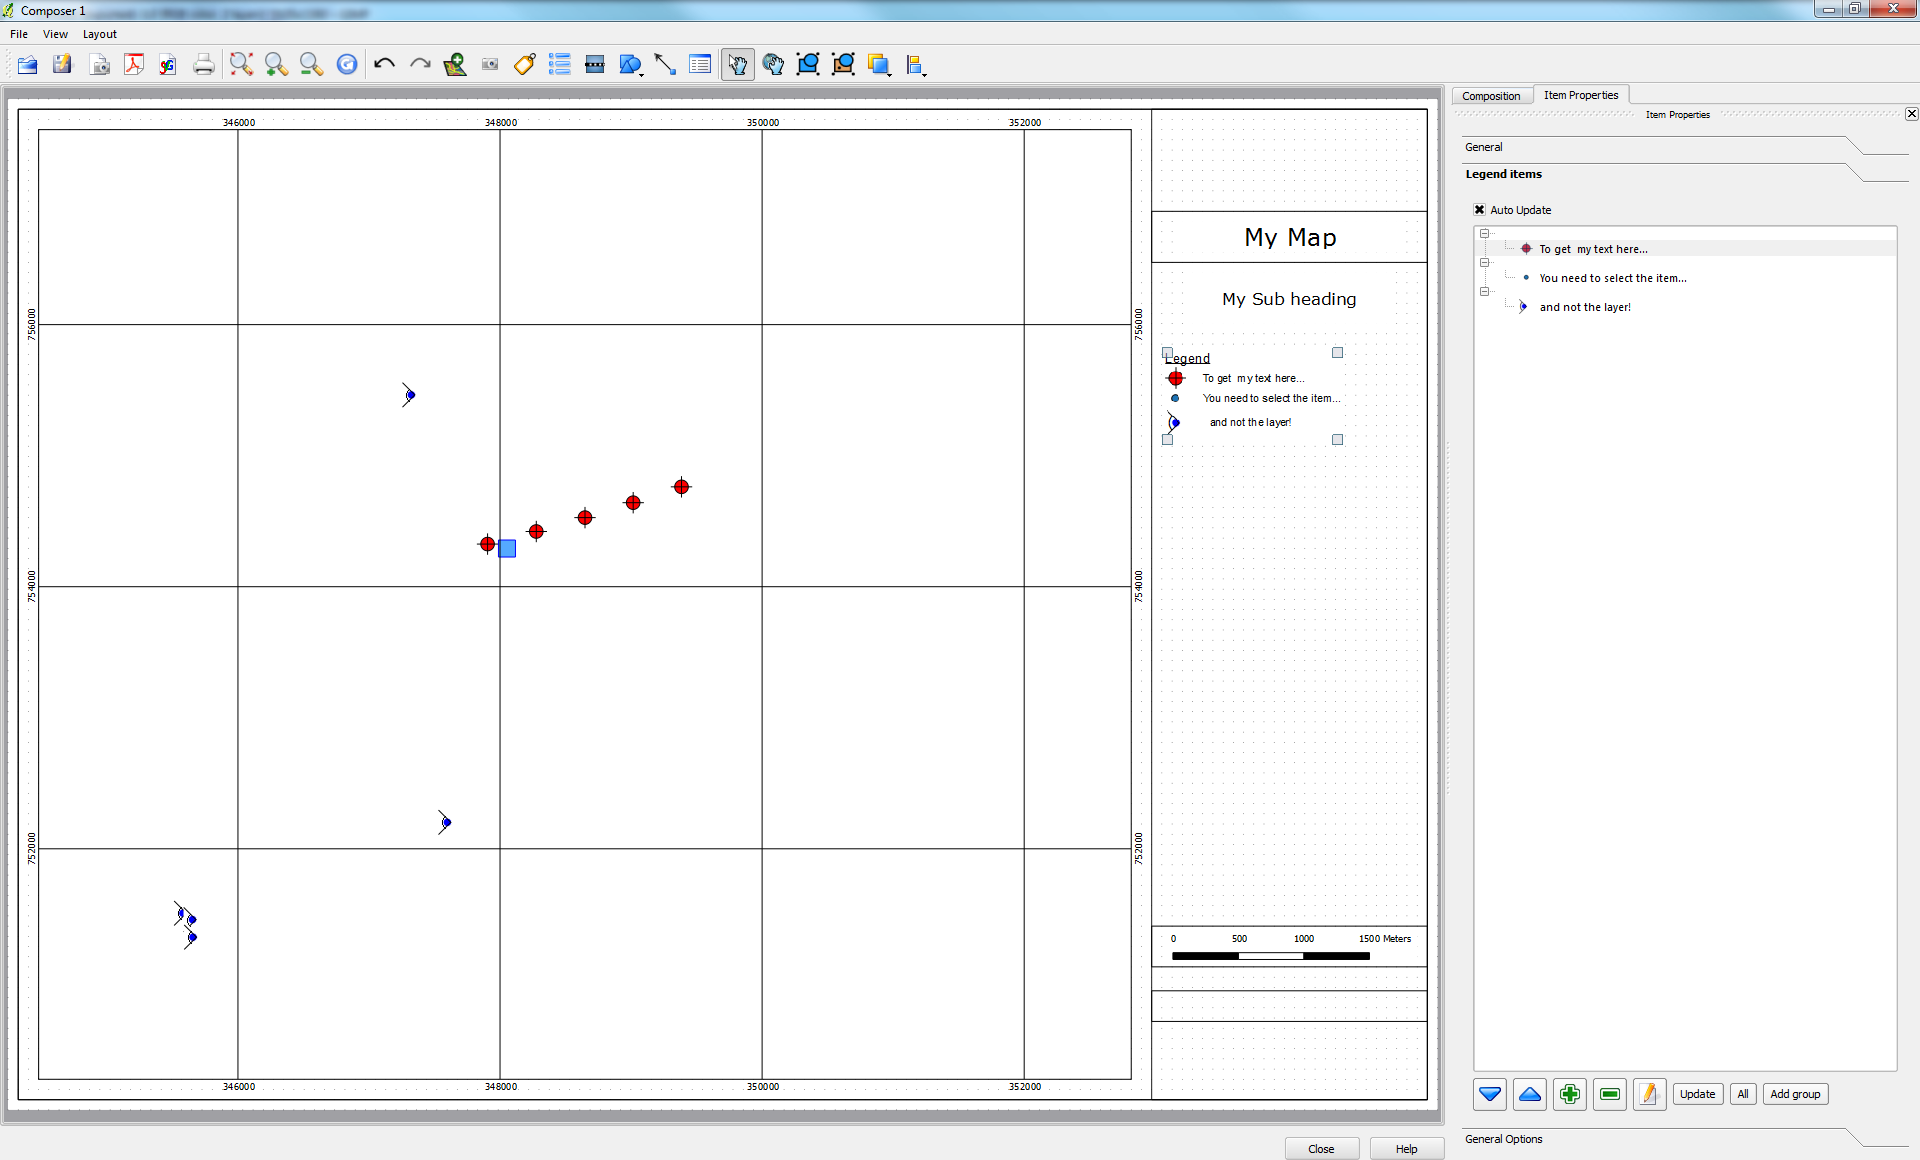
EDIT (before and after screenshots): before after

7
  • i followed all the steps but the label still appears above the symbol :/ Commented Dec 6, 2012 at 12:14
  • 1
    Then you didn't delete the Layer's label. This is a technique I use a lot for this sort of situation and it works well. Commented Dec 6, 2012 at 12:20
  • All the steps you say here are made on the Print Composer, right? Commented Dec 6, 2012 at 12:27
  • Yes - see my edit to my original post. I have added 'before' and 'after' screen shots that will hopefully clear it up. You delete all the 'item text' for each layer. Then press the little plus and select an item from the layer (in this case there will only be one per layer). Click the pencil icon again and add text (note this is below the level of the layer heading which MUST be completely blank for this to work). Commented Dec 6, 2012 at 12:31
  • 1
    Ok i solved it. The key was "note this is below the level of the layer heading". Thanks a lot! Commented Dec 6, 2012 at 12:35

Your Answer

By clicking “Post Your Answer”, you agree to our terms of service and acknowledge you have read our privacy policy.

Not the answer you're looking for? Browse other questions tagged or ask your own question.