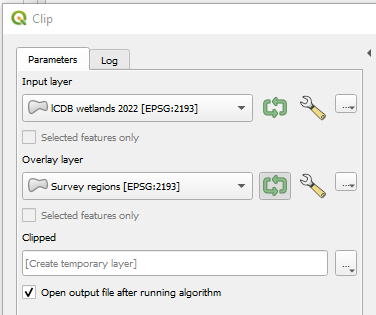
Unfortunately, the iterator in the clip tool does not give you the option to save the files on the disk based on a field in the overlay layer. Usually, such a process can be programmed using pyqgis.
However, there is a possibility to do what you want without using pyqgis, but it requires some extra work.
Create two folders in your target directory and give them the name OverlayClip and Output, for example: F:\Test\OverlayClip and F:\Test\Output
Use the Split Vector Layer tool a, and select the field name - that you want your final clipped files to have - to split the overlay layer into several files based on that field and save the files in the OverlayClip folder. Uncheck Add field prefix to file names. You can use either shp or gpkg for the output files.
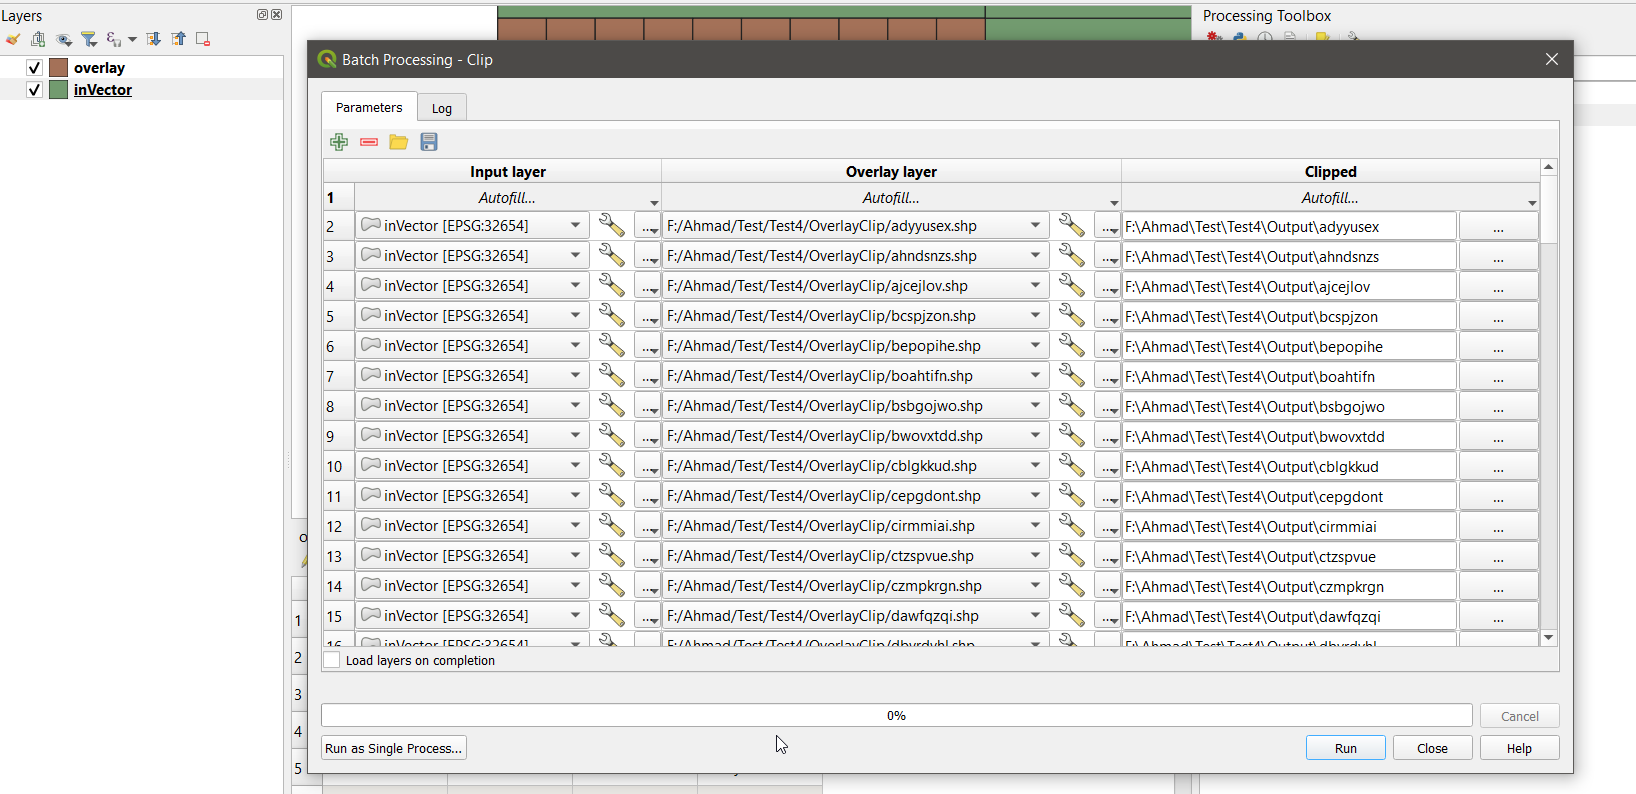
Right-click the Clip tool and select Execute as Batch Process.
In the Input Layer, select the layer that you want to clip.
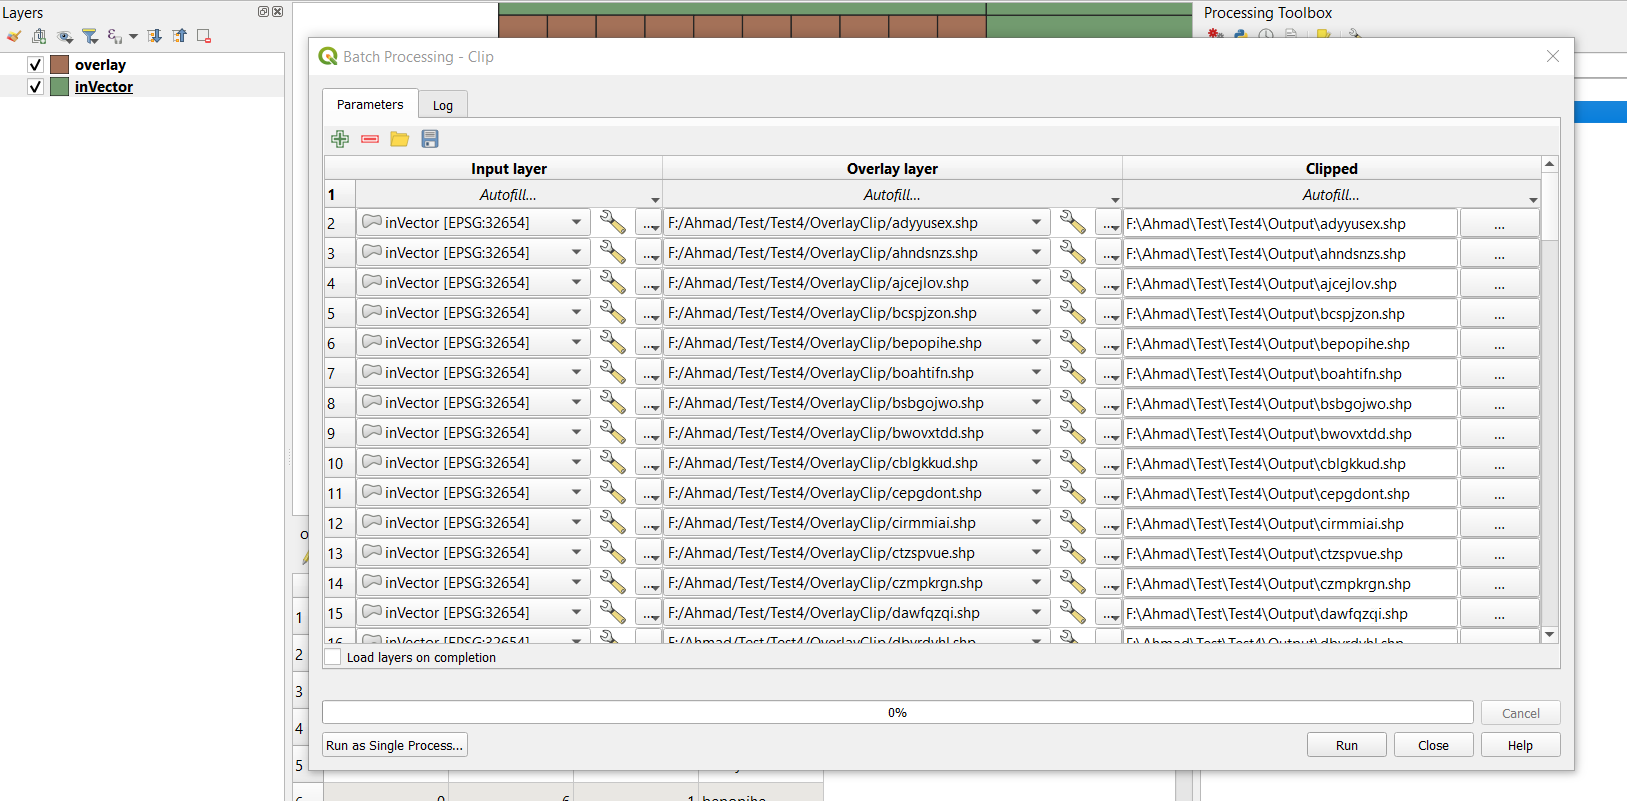
For the Overlay layer, if you saved the files in the step 2 as gpkg, press the Autofill and select Add all files from a directory and select the OverlayClip directory to populate the table. However, if you select shp, then select Add files by pattern, write .shp, Find Files, and select the OverlayClip directory to populate the table. You will need to delete the first row which used by default to clip by the whole layer.
Under the clipped column, from the Autofill, select Calculate by expression, and write the following expression:
replace(file_path( @OVERLAY ),'OverlayClip',format('Output\\%1',base_file_name(@OVERLAY)))
The above expression will replace the OverlayClip folder with the name of the Output folder, which will hold all the clipped files with the same name written in the field you want to use. It becomes F:\Test\OverlayClip\*****. The output will be in geopackage format to avoid issues with the shapefiles.

If you want shapefiles, then use:
replace(file_path( @OVERLAY ),'OverlayClip',format('Output\\%1',file_name(@OVERLAY)))

But I recommend using geopackage format.
- Press Run to run the tool.


