Illuminated Contours, often called Tanaka Contours.
There are many different ways of creating them in QGIS. Keep in mind that quite a few of the older tutorials are now out of date as newer versions of QGIS have more styling options.
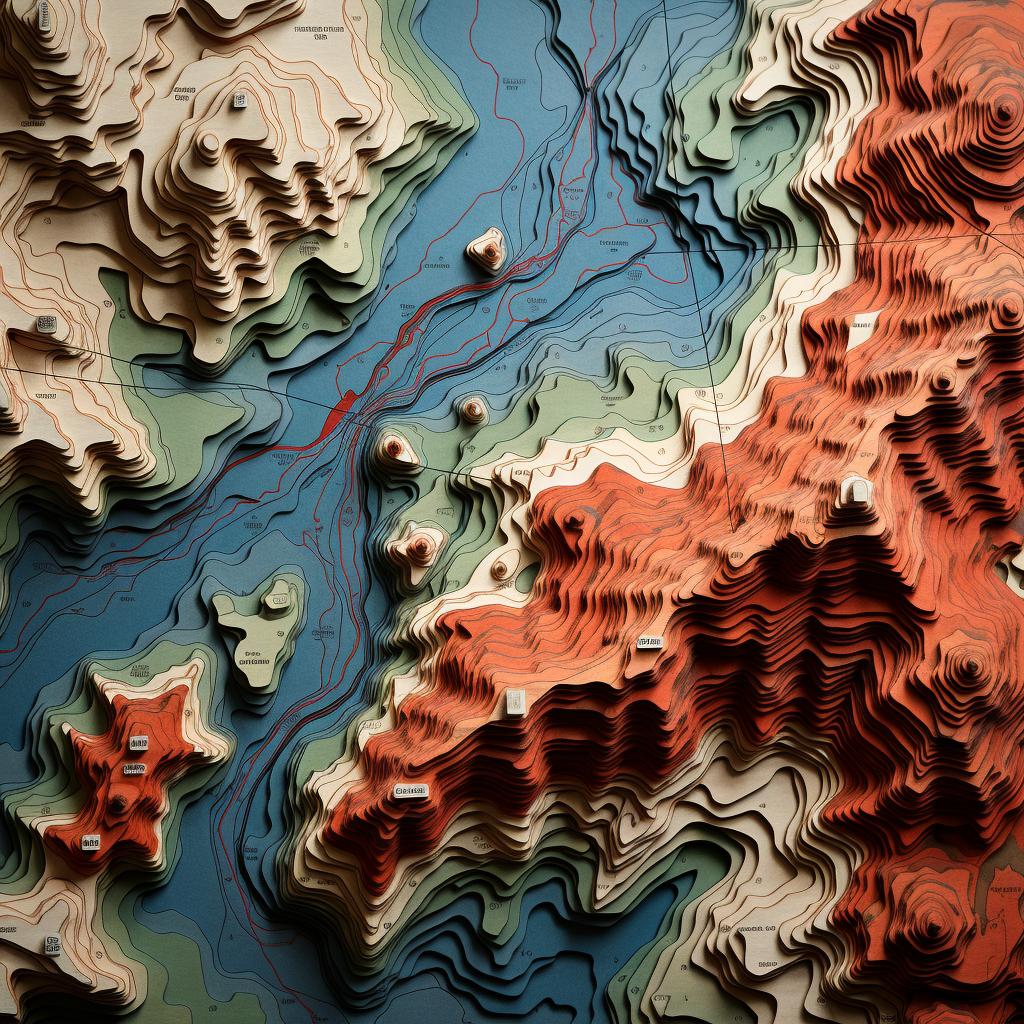
Here's a couple of very basic methods that can be set up in a few minutes. There is plenty of tweaking that can be done to produce superior outputs. If you are looking for photorealistic output, that may be beyond QGIS.
Raster Version
Starting with your original DEM, use (GDAL) Raster Calculator to calculate a stepped DEM using a formula like: 40 * round(A/40,0)
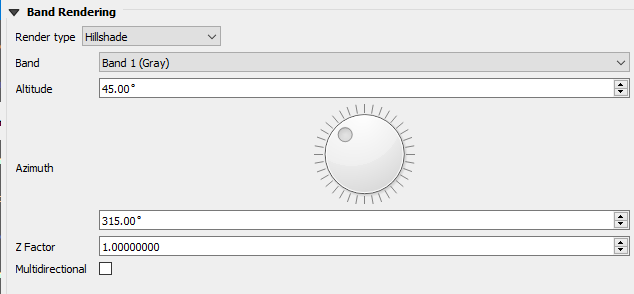
Style your stepped DEM using Hillshade.
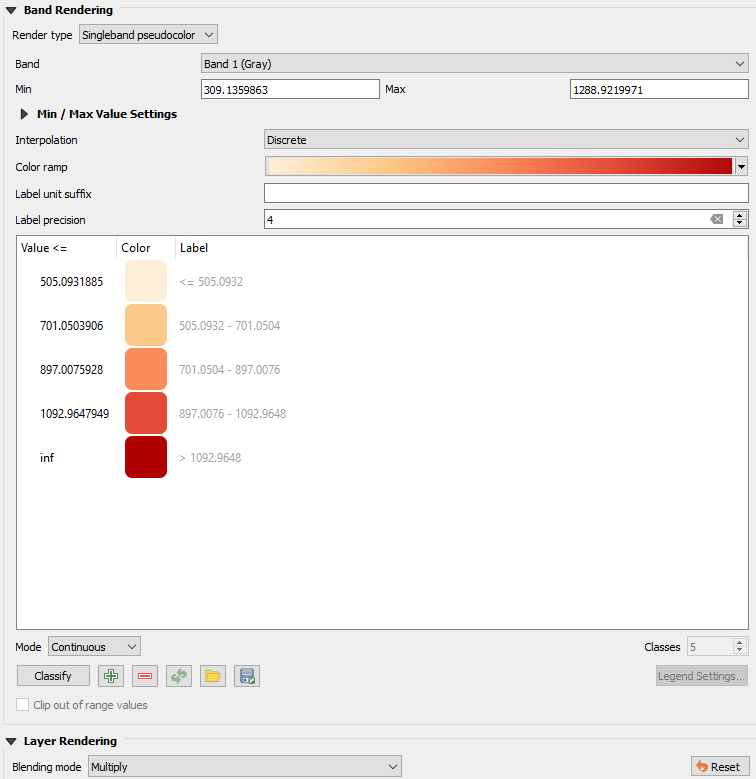
Style your original DEM using a single-band pseudocolor, with blending mode set to Multiply.
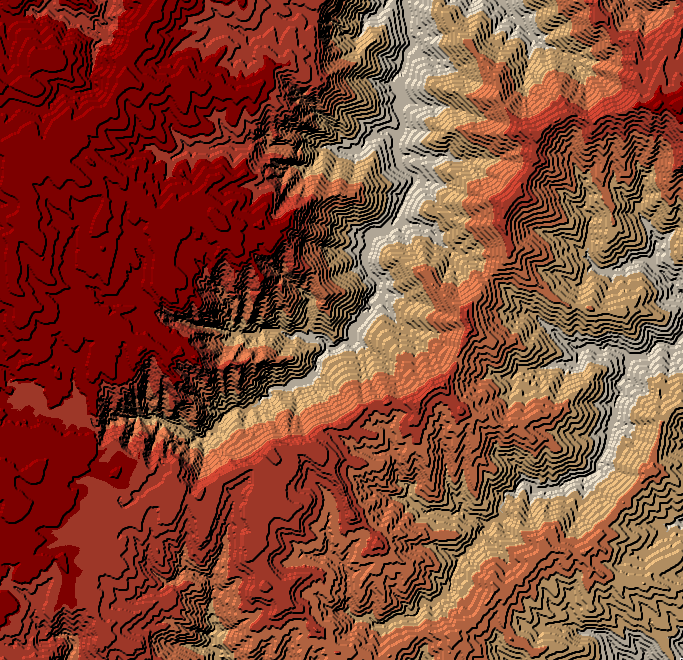
Ensure your stepped DEM is under your original DEM in the layer order - you should end up with output like the following:
Vector Version
Starting with your DEM, use Contour Polygons (from the Processing Toolbox) to create the contours.
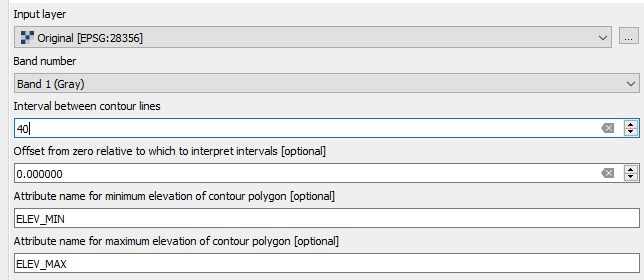
Style as follows:
- Select Graduated
- Set the value to ELEV_MIN and Classify
- Click on the Symbol, select Simple Fill, and check the Draw effects box
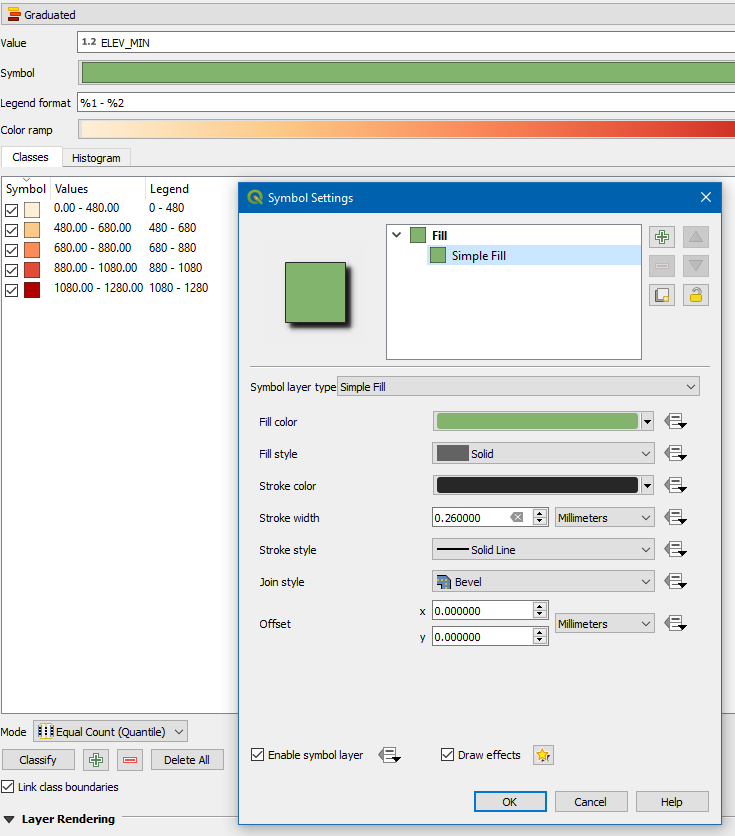
Add a Drop Shadow
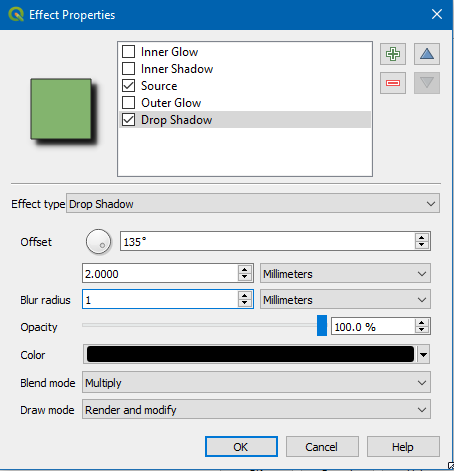
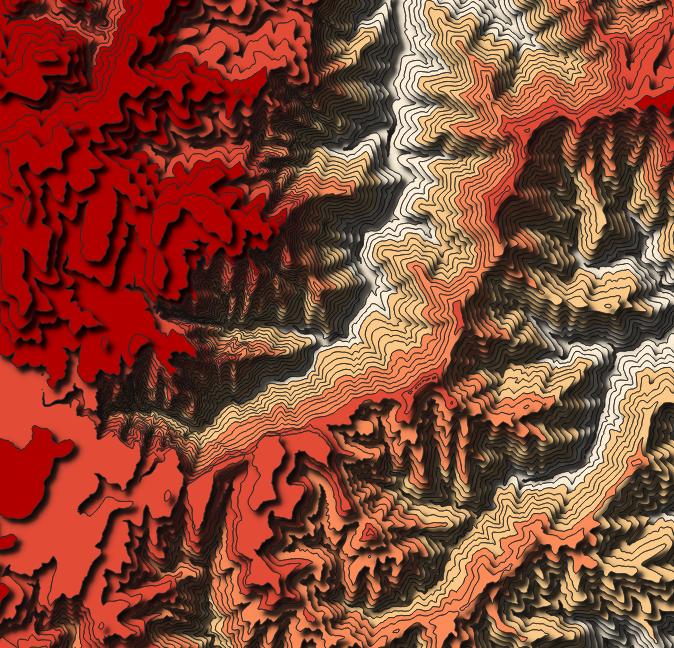
This will give you something like the below:



{profile folder}/python/plugins/tanaka_contours/tanaka_contours.pyline 88 toblock = provider.block(1, extent, int(rows), int(cols)).