In documentation for gdalwarp command:
https://gdal.org/programs/gdalwarp.html
there is an example where is pointed out that options in your command are precisely used for un-georeferenced images and it is also necessary a cutline as csv file. So, for georeferenced images, you only need to add or to rest 30*(Pixel Size) to xmin ymin xmax ymax values. These values can easily get in Raster Properties -> Information -> Extent, Pizel Size.
To test my approach, I created a random raster with a dimension of 1280x960; whose values for extent and Pixel Size were as follows:
Extent:
354971.3488602247089148,4378722.8366580698639154 : 426000.5231592403142713,4473428.4023900907486677
Pizel Size:
73.98872322814125368
For new cut raster:
xmin + 30*(Pixel Size): 354971.3488602247089148 + 2219.661696844 = 357191.010557069
ymin + 30*(Pixel Size): 4378722.8366580698639154 + 2219.661696844 = 4380942.498354914
xmax - 30*(Pixel Size): 426000.5231592403142713 - 2219.661696844 = 423780.861462396
ymax - 30*(Pixel Size): 4473428.4023900907486677 - 2219.661696844 = 4471208.740693247
So, my complete command is:
gdalwarp -overwrite -te 357191,010557069 4380942,498354914 423780,861462396 4471208,740693247 random.tif out.tif
When I ran in Console above command, I got following result:
zeito@zeito-pc:~/pyqgis_data$ gdalwarp -overwrite -te 357191,010557069 4380942,498354914 423780,861462396 4471208,740693247 random.tif out.tif
Creating output file that is 900P x 1220L.
Processing random.tif [1/1] : 0...10...20...30...40...50...60...70...80...90...100 - done.
where it can be observed that raster dimension is as expected: 900P x 1220L.
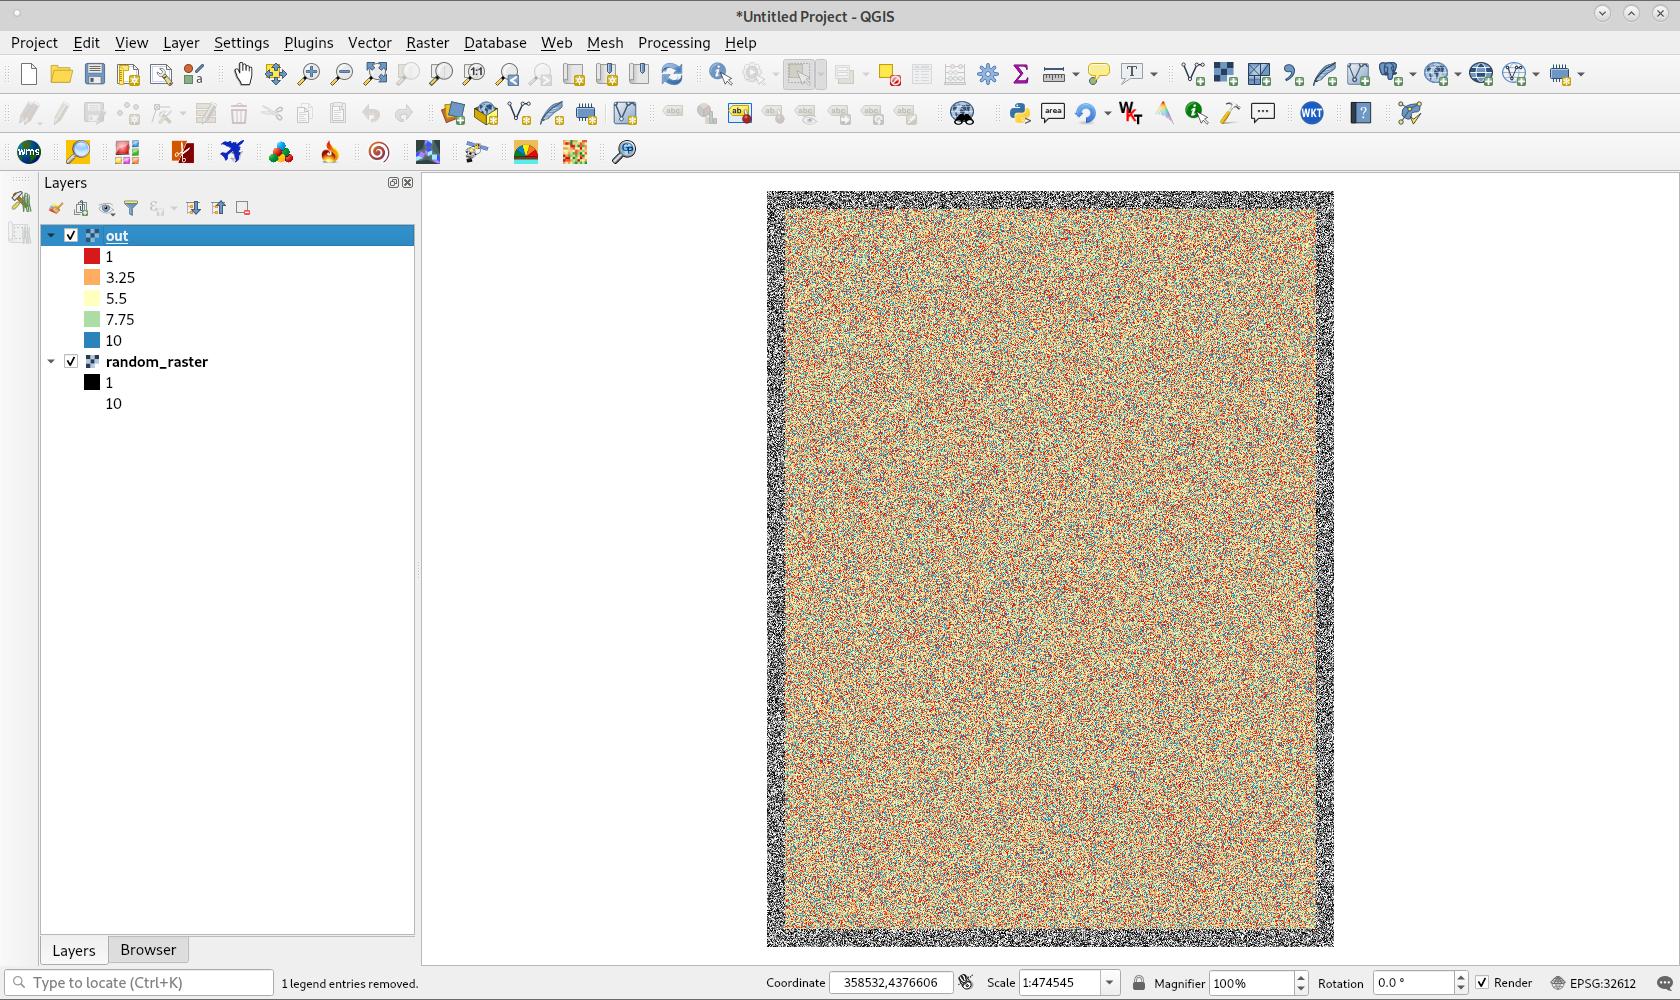
In the following image are the original and the resulting raster. Resulting raster (with pseudocolor symbology for better identification) was effectively cut 30 pixels for each border.


-srcwin 30 30 1220 900