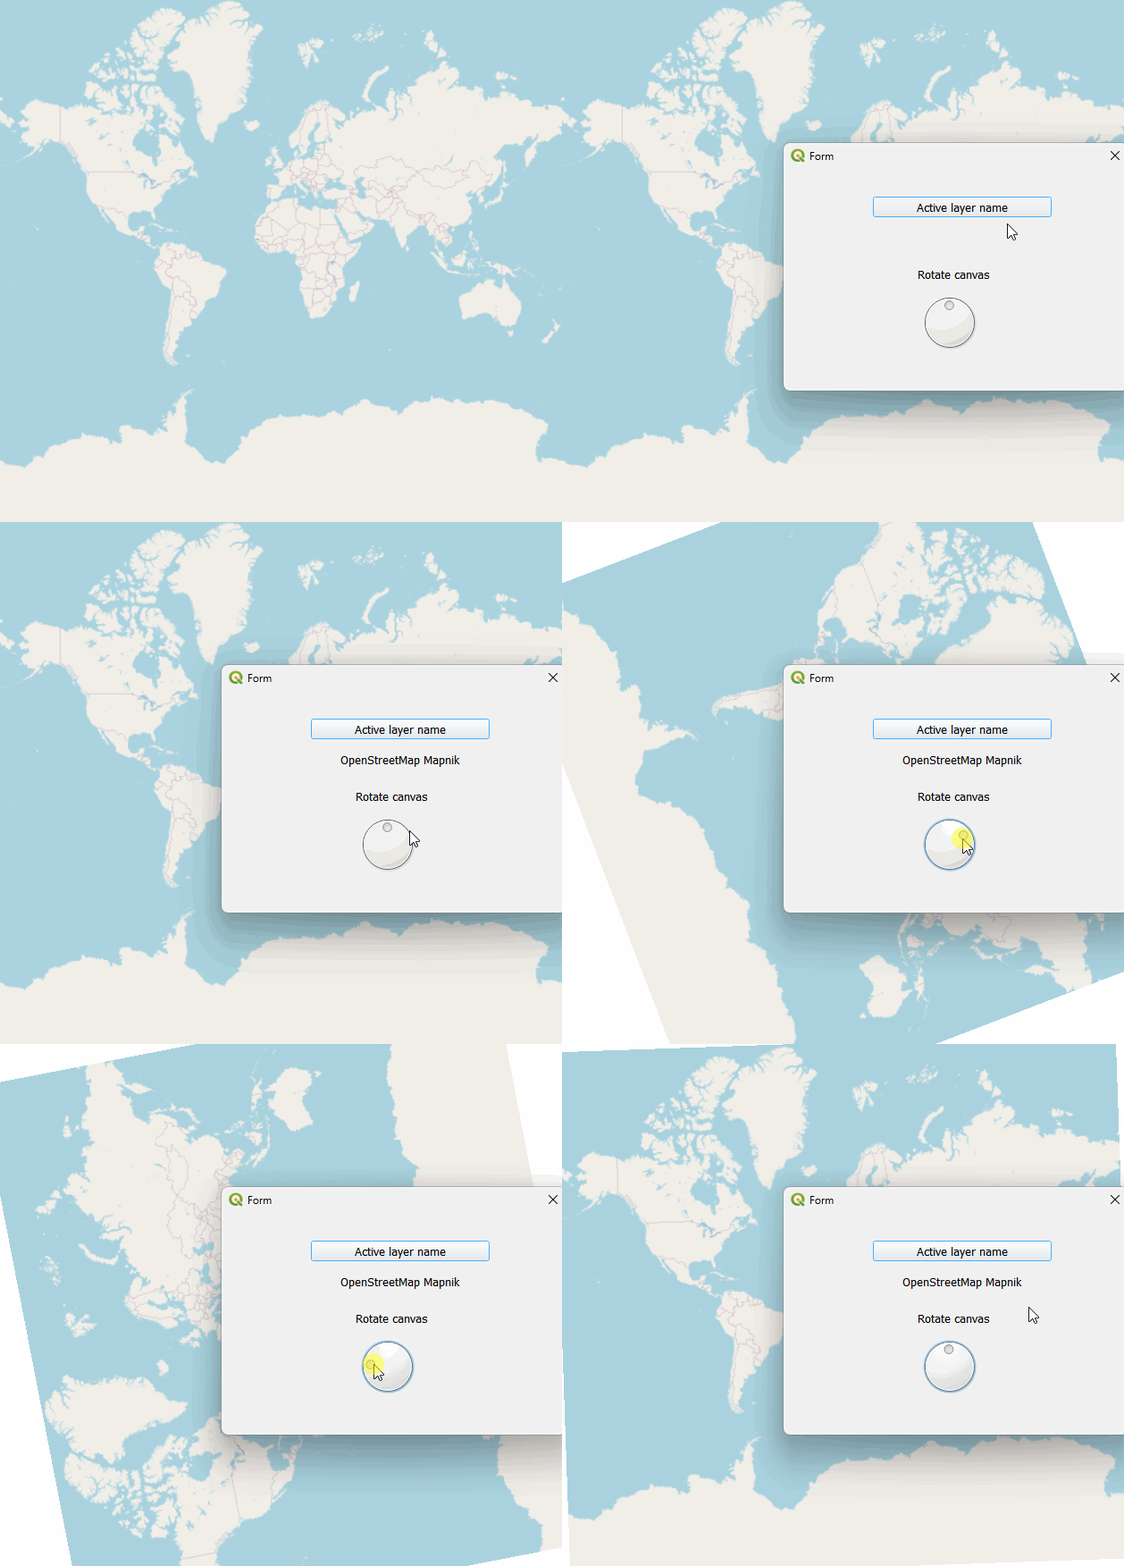
I would like to create a graphical user interface for my QGIS python script. I downloaded the Qt-designer, but am not sure how to connetc my script from QGIS with the Qt-designer.
I would like to create a window where I can choose layers for point_lyr, point_lyr_wgf and polygon_lyr variables.
# Lädt alle notwendigen Bibliotheken (libaries) in das Skript
from qgis.core import QgsProject, QgsVectorLayer, QgsGeometry, QgsCoordinateTransform

#Greift auf das aktuelle GIS Projekt zu
project = QgsProject.instance()

#Definiert Namen in Python für die jeweiligen Layer im Projekt.
point_lyr = project.mapLayersByName('05334012_STR_FPG')[0]
point_lyr_wgf = project.mapLayersByName('05334012_STR_WGF')[0]
polygon_lyr = project.mapLayersByName('L-den / dB(A)')[0]

#Erzeugt neue Vektorlayer mit einem Punkte-Geometrietyp. Das KBS wird vom schon vorhandenen Punkte layer abgegriffen und der Name FPG_cut definiert. Der Vektor existiert estmal nur im RAM.
output_lyr = QgsVectorLayer(f'Point?crs={point_lyr.crs().authid()}', 'FPG_cut_LDEN', 'memory')

#Gibt dem neuen Layer die Attributfelder vom schon bestehenden Punkte layer point_lyr. Nur die Felder, nicht die Inhalte.
output_lyr.dataProvider().addAttributes(point_lyr.fields())

#Updatet den neuen layer. Quasi wie abspeichern bei einer Datei
output_lyr.updateFields()

#Analoges Verfahren für zweiten Vektorlayer WGF_cut
output_lyr_wgf = QgsVectorLayer(f'Point?crs={point_lyr_wgf.crs().authid()}', 'WGF_cut_LDEN', 'memory')
output_lyr_wgf.dataProvider().addAttributes(point_lyr_wgf.fields())
output_lyr_wgf.updateFields()

#Fasst die einzelnen Teilgeometrien des Lärmkatierungslayers zusammen
poly_combined_geom = QgsGeometry.collectGeometry([ft.geometry() for ft in polygon_lyr.getFeatures()])

# Transformiert die kombinierte Polygon-Geometrie in das Koordinatensystem des Punkt-Layers, falls erforderlich.
if point_lyr.crs() != polygon_lyr.crs():
    xform = QgsCoordinateTransform(polygon_lyr.crs(), point_lyr.crs(), project)
    poly_combined_geom.transform(xform)

# Erstellt einen Geometry Engine für die Polygon-Geometrie.
geom_engine = QgsGeometry.createGeometryEngine(poly_combined_geom.constGet())

# Bereitet die Geometrie für weitere Operationen vor.
geom_engine.prepareGeometry()

# Finden von Punkten im Punkt-Layer, die sich innerhalb der kombinierten Polygon-Geometrie befinden
pts_in = [ft for ft in point_lyr.getFeatures() if geom_engine.contains(ft.geometry().constGet())]

# Extrahieren der 'GEB_ID'-Attributwerte aus den Punkten innerhalb des Polygons und Speichern in einer Menge
ids_in = set(ft['GEB_ID'] for ft in pts_in)

# Finden von Punkten im Punkt-Layer, die nicht mit der Polygon-Geometrie schneiden und 'GEB_ID'-Werte in der 'ids_in'-Menge haben
pts_out_to_keep = [ft for ft in point_lyr.getFeatures() if geom_engine.disjoint(ft.geometry().constGet()) and ft['GEB_ID'] in ids_in]

# Wiederholung der Schritte für einen zweiten Punkt-Layer ('05334036_STR_WGF')
pts_in_wgf = [ft for ft in point_lyr_wgf.getFeatures() if geom_engine.contains(ft.geometry().constGet())]
ids_in_wgf = set(ft['GEB_ID'] for ft in pts_in_wgf)
pts_out_to_keep_wgf = [ft for ft in point_lyr_wgf.getFeatures() if geom_engine.disjoint(ft.geometry().constGet()) and ft['GEB_ID'] in ids_in]

# Zusammenführen der gefundenen Features in den Punkt-Layern
all_fts = pts_in + pts_out_to_keep
all_fts_wgf = pts_in_wgf + pts_out_to_keep_wgf

# Hinzufügen der Features zu den neuen Layern
output_lyr.dataProvider().addFeatures(all_fts)
output_lyr.updateExtents()
output_lyr_wgf.dataProvider().addFeatures(all_fts_wgf)
output_lyr_wgf.updateExtents()

# Festlegen von Darstellungsfarben und Aktualisieren der Anzeige der neuen Layer
output_lyr.renderer().symbol().setColor(QColor("green"))
output_lyr.triggerRepaint()
output_lyr_wgf.renderer().symbol().setColor(QColor("orange"))
output_lyr_wgf.triggerRepaint()

# Hinzufügen der neuen Layer zum QGIS-Projekt
project.addMapLayer(output_lyr)
project.addMapLayer(output_lyr_wgf)

