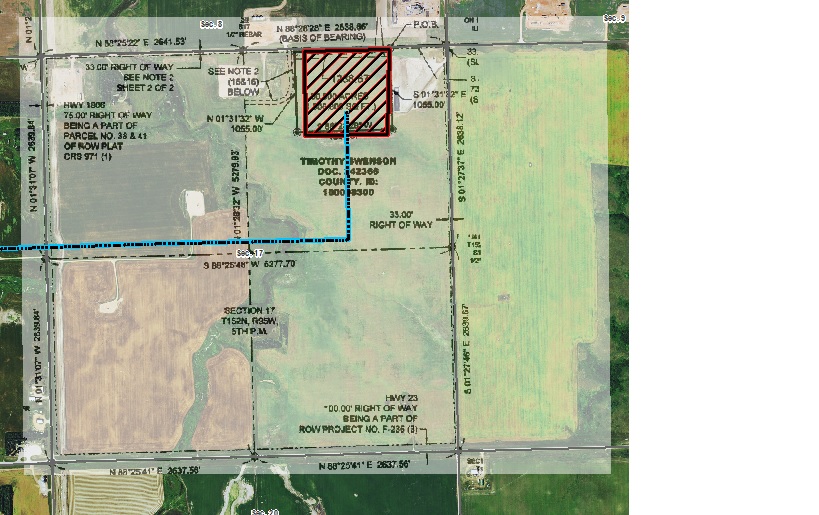
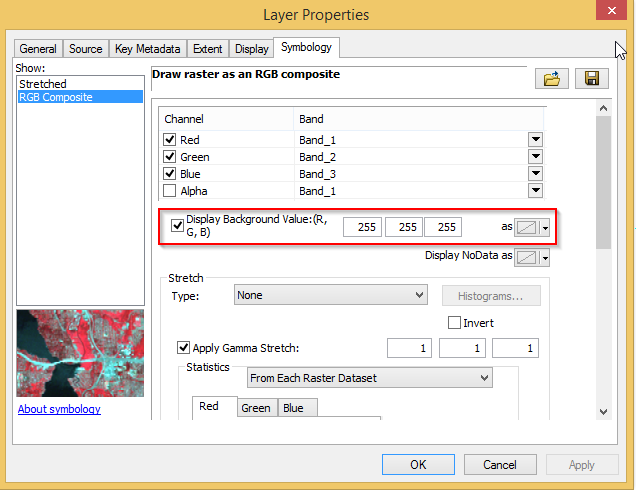
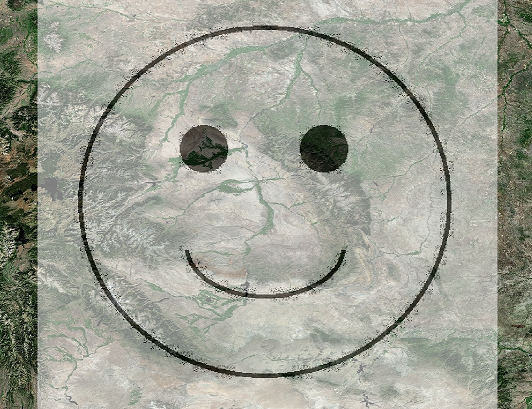
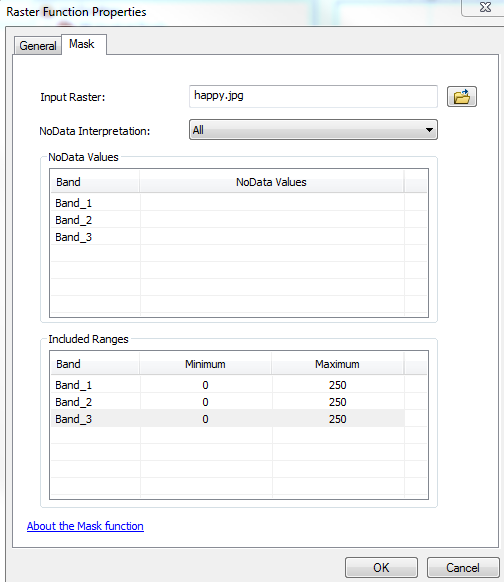
I do this a lot with historic maps, and began by using @nicksan's method, but had the same issues the OP mentioned. I haven't used the mask method (will try soon) but here's what I do now, if you can deal with not having the red and blue in your overlay:
- Make sure you have Updated Georeferencing in the georeferencing toolbar and then remove the layer from the TOC
- Make a backup copy of the image using ArcCatalog
- In GIMP or Photoshop change the image mode to grayscale (and save it)
- In ArcMap, add the image back in and change the symbology to Unique Values (this is not an option with an RGB image)
- Set the color ramp to black to white (or white to black) and click Apply
- Now just remove as many of the white/gray values as you like
This is also nice because you can choose any color ramp and display multiple line drawings on top of each other.
Some other notes:
I would recommend viewing the image where it exists in windows explorer and checking out the extra files that are associated with it. This depends on the format and the version of ArcMap you're using, but once an image is georeferenced, there are always auxiliary files that accompany it. The jgw in this case holds the spatial extent, and the .xml holds the spatial reference and georeferencing info, etc.
This means that in your new grayscale version of the image, all the georeferencing info will be retained and it should be no problem.
HOWEVER If your image has pyramids, you'll have to delete that file, which is often a .ovr or .rrd. The old pyramids will show the old image at small scales.
Basically, it's worth figuring out a good way to do this if you'll have to do it again, because removing the white pixels is worth the trouble.
